« Back to Knowledge Base
Allowing permissions for vMix Desktop Capture for Mac to access your Screen
When opening the vMix Desktop Capture for Mac for the first time, it will prompt you for permission to "Record this computer's screen" which must be enabled in order for it to work. Clicking "Deny" will result in the vMix Desktop Capture app sending a blank NDI feed to vMix.
STEP 1
Download the vMix Desktop Capture for Mac app from our website: https://www.vmix.com/software/download.aspx#downloaddesktopcapture
STEP 2
Unzip the zip file and place the app wherever you prefer. Then double click to run.
STEP 3
After running for the first time, you will see a couple of permission related prompts.
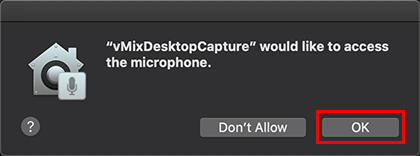
The first prompt will ask for access to your microphone. Press OK to allow permission:
By default desktop capture from a mac will send the system's default microphone. In order to send the Mac system audio, a 3rd party app needs to be used. Please see the following knowledge base article on how to configure that:
STEP 4
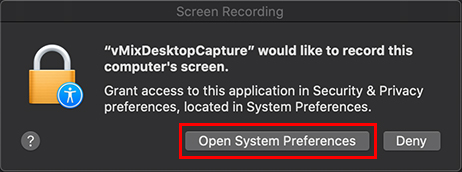
You will then see a window asking permission for vMix Desktop Capture to record this computer's screen. Click the Open System Preferences button to enable this option:
STEP 5
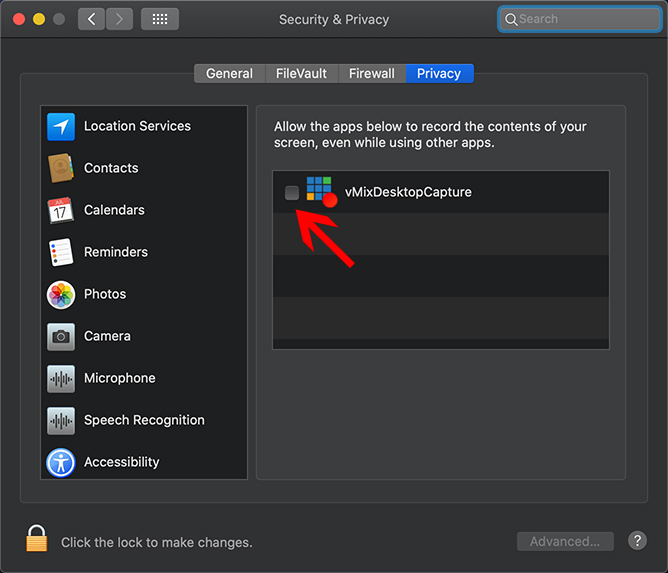
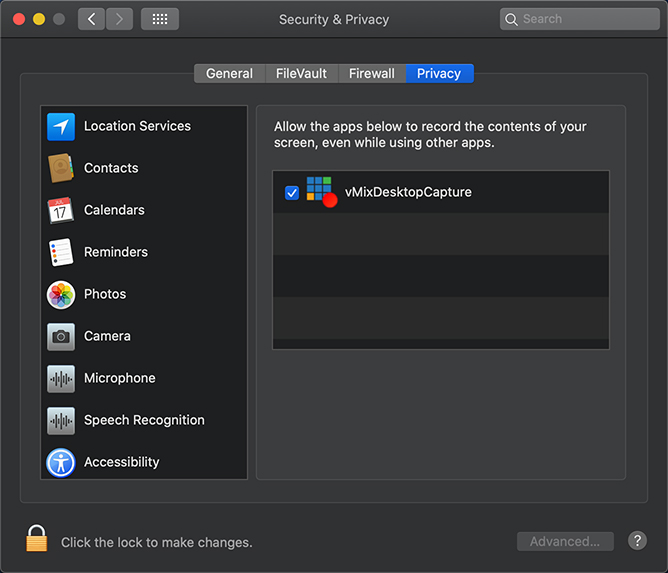
A new window will appear. Tick the checkbox next to vMixDesktopCapture to enable.
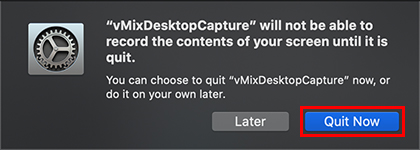
If the vMix Desktop Capture app is still open, it will prompt you to quit the app to proceed with these changes. Click the Quit Now button.
This privacy setting should now be ticked. Close this window and then re-open the vMix Desktop Capture for Mac app to continue.
IF YOU HAVE ACCIDENTALLY CLICKED THE DENY BUTTON IN STEP 4
You can manually enable this permission setting, by doing the following:
- Open System Preferences.
- Select the Security & Privacy option.
- In the window that appears, click the Privacy tab.
- In the left sidebar, scroll down and select the Screen Recording option.
- Tick the checkbox next to vMixDesktopCapture to enable.
Last Updated: Tuesday, November 26, 2019 8:52:09 AM