« Back to Knowledge Base
Creating a YouTube Live Stream Now stream in vMix
Step 1
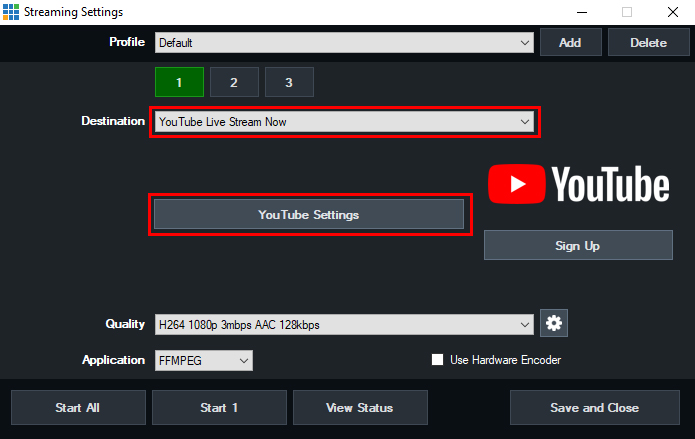
Open the stream settings window by clicking the cog icon button next to the Stream button at the bottom of vMix.
Choose Youtube Live Stream Now from the Destination dropdown menu. Click YouTube Settings button to setup your Stream.
Step 2
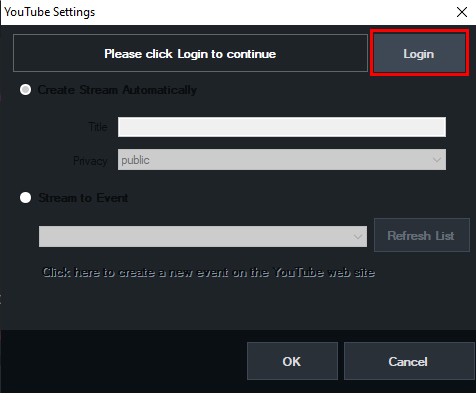
If this is the first time logging in to your YouTube account, click the Login button at the top. This will take you to your web browser to complete the login process.
Step 3
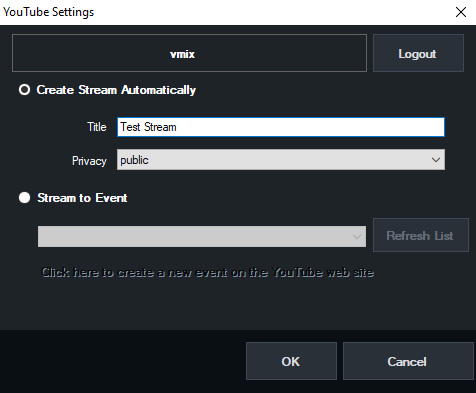
Once logged in, return to vMix. To create a stream automatically, click the first option for Create Stream Automatically and enter in a Title and Privacy setting for your stream.
Alternatively, you can also select Stream to an Event and choose a previously scheduled YouTube Live Stream to stream to.
However in this case we want to stream now so will be selecting the first option. Press OK to proceed.
Step 4
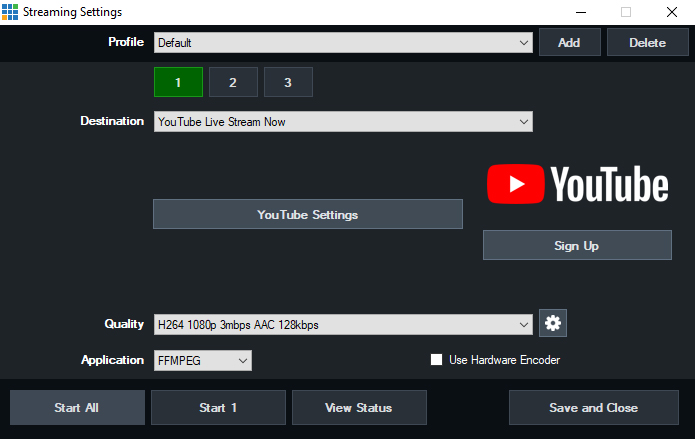
Your stream now stream will be created and ready to stream to. Simply click Start to start the stream.
Step 5
Nothing further is required as it will automatically create the stream and start live streaming on your channel.
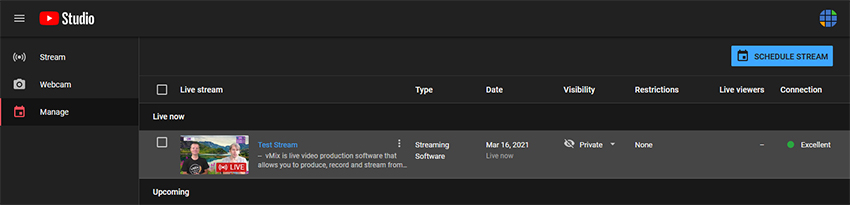
However if you would like to see this stream in YouTube Studio, open it up in your web browser and select Manage from the left sidebar. You should see in the list a current live stream that is live now.
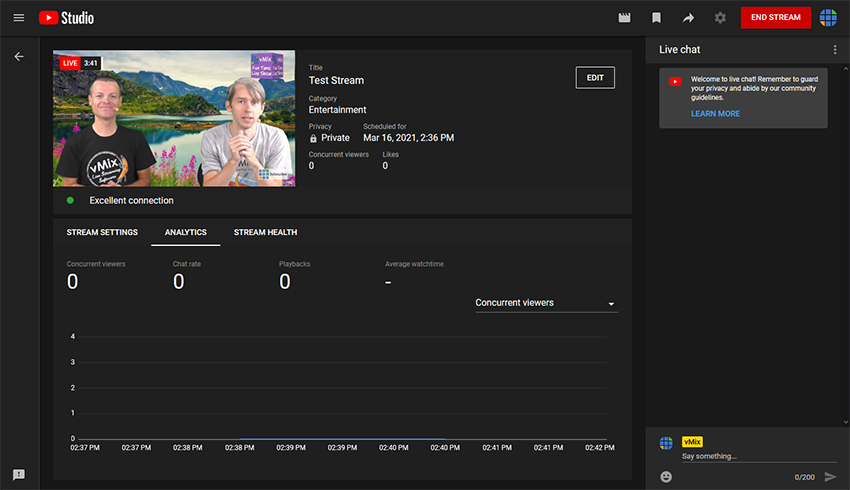
You can then click on this to view your stream in YouTube Studio.
NOTE: Once you finish the stream in vMix, it will also automatically end in YouTube. No need to stop the stream in the YouTube Studio interface.
Last Updated: Tuesday, March 16, 2021 1:59:24 PM